Introduction
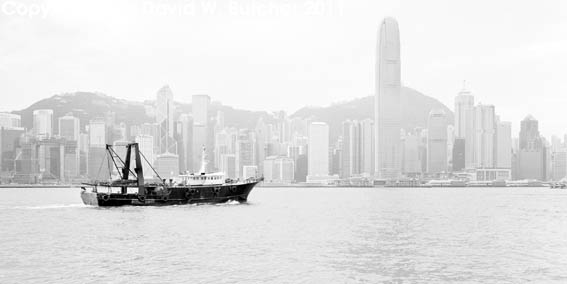
City photography to me is all about the buildings, bridges, architecture, patterns, shapes and of course the light. I use a similar approach to that used for my landscapes and try and take pictures with as few people as possible, not always easy in cities. I also keep images simple and as graphic as possible – less is more. This is even more important with black and white as there are no colours to help separate parts of the picture.
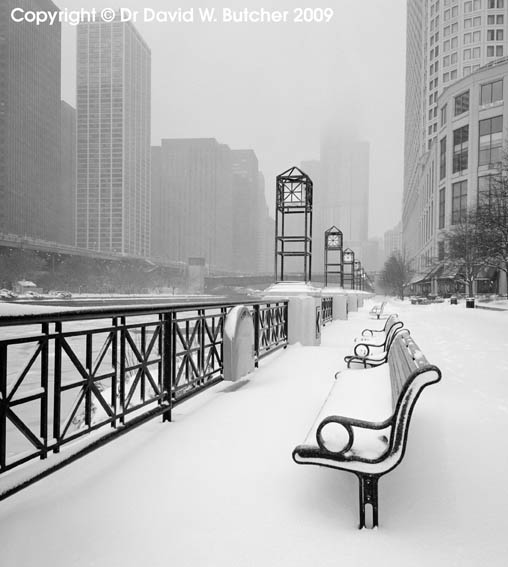
Don’t settle for a scene if you arrive and it’s not what you had hoped for whether it’s the lighting, weather, crowds or construction work. Check out when it would be right and go back. If you can’t go back walk around the location to find a way of making a different version of the shot or try a different time of day. In bad weather use the weather as part of the image, as in the Chicago image here taken during a snow storm, or look for the small parts of a scene and take those, save the big views for better weather.
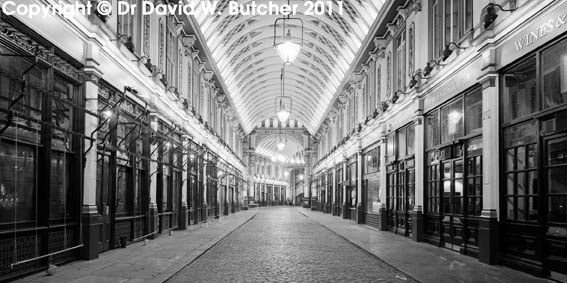
I could be blindfolded and dropped into any city and know that I will take some stunning shots. However, I also know that with a bit of preparation I could do so much more and, with the high cost of travel, it pays to do some planning before you leave. So for me with patience, persistence, planning, and an eye for a different perspective I can take the record photograph then look for something a little different to put a bit of myself into the shot.
Composition
As always, any black and white photograph relies on strong, compositional elements and dramatic lighting, not whether the colours are pleasing.
Look around for foreground interest rather than the blank patch of grass in front of you. Move around to find an angle that hides something you do not want in your photo. If it is a grey day or clear blue sky with no clouds look for something to put in the sky, like a lamp, to fill the blank space and add a bit of interest in an otherwise boring area of the image.
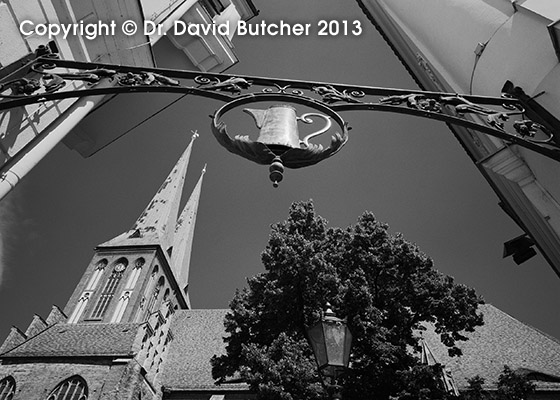
Avoid trees and lamps partly overlapping a building or partly against the sky. If possible, put the entire tree or lamp either against a building or the sky.
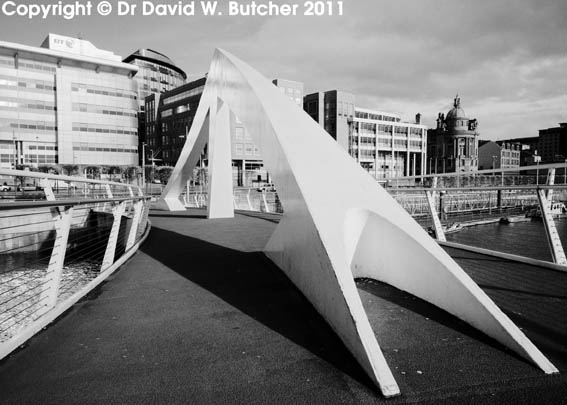
Any line in the urban landscape can be used as a lead in. Things that work well include the line of buildings, roads, paths, fences, rivers, bridges and so on, to lead the eye of the viewer from the edges into your image.
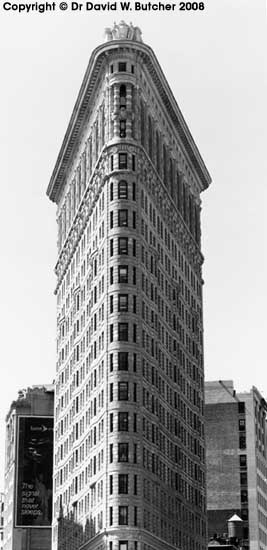
Try and keep walls vertical by going back far enough or using a wide angle lens, as in the shot of the Flatiron Building in New York.
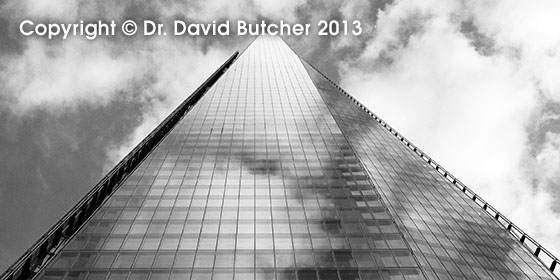
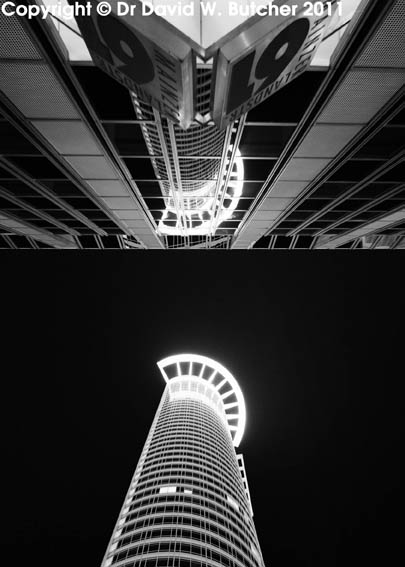
If this is not possible, go in closer and point your camera upwards to exaggerate the distortion of the verticals, as in the London Shard photo here. This usually works best with wide angle lenses so that everything from foreground to the farthest point is in focus.
Reflections, either in glass, on water or on wet surfaces, day or night, can make effective photographs on their own or add to something you have already selected. Puddles, wet pavements or lights reflected on water at night are all things to look for.
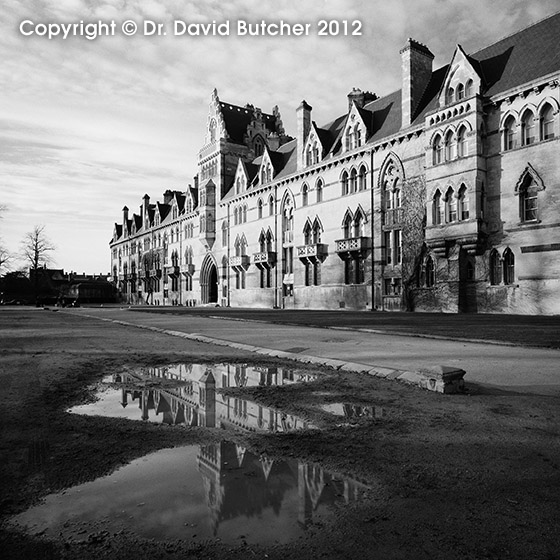
The Frankfurt building reflections image is an example of what you can look for, even with low light levels at night.
Decide if shadows, bright sunshine or a mix of the two is best for a shot that you have seen. Also, if you want sunshine then the time of year is important. Winter sun stays low in the sky and may not light your shot at any time of day! Use local maps and Google Earth to check what the time of day and year is doing to your possible photographs.
Water can make very effective images, this includes fountains, rivers, waterfalls or waves crashing on a beach with the city behind. Decide if you prefer to see water droplets or streaky water. For streaky water use 1/2 to 1/8 sec exposure. If you want to see mostly water droplets use 1/100 to 1/500 sec. For a mix of streaks and droplets use 1/30 or 1/60 sec. If unsure bracket by taking a range of exposures.

Research
Before you arrive in a new city spend some time researching the locations and the sort of photos that you can expect to take. Use Google Images, Google Earth, Google Street View, Flickr and other similar services to give you a quick overview. Picture guidebooks are particularly good. Choose city guides that are pocket size, have a map and show the main attractions in pictures.
It’s also useful to be aware of a few restrictions that you may come across in cities. Mostly this concerns the use of tripods but can extend beyond this. Indoor photography using a tripod may also be frowned upon. If you are taking photographs as an amateur just explain this and you will often be fine. For commercial photography it is useful to carry a personal liability insurance certificate and you should be prepared to apply for permits in advance under some circumstances.
Night Photography
Click this link to see separate tutorial.
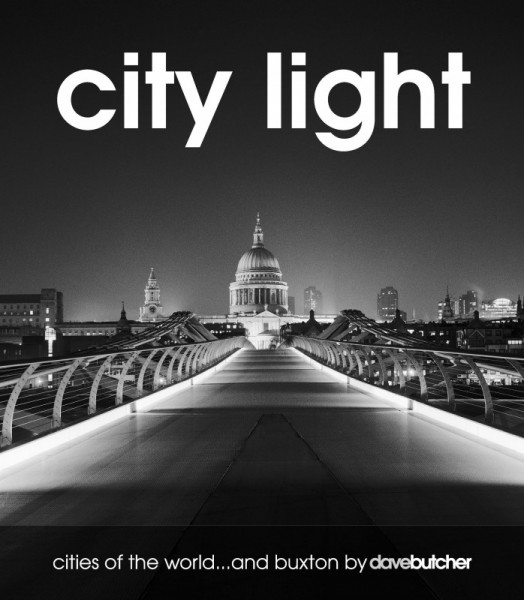
City Light Book
If you are interested in seeing more of my city photographs visit my gallery website. I also have a book called City Light…Cities of the World and Buxton with 126 photographs of 31 cities around the world, available through Amazon and through my website.
